Jojoba Vitamin C
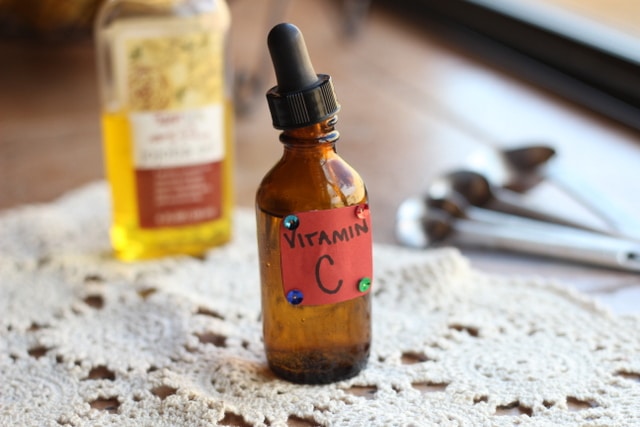
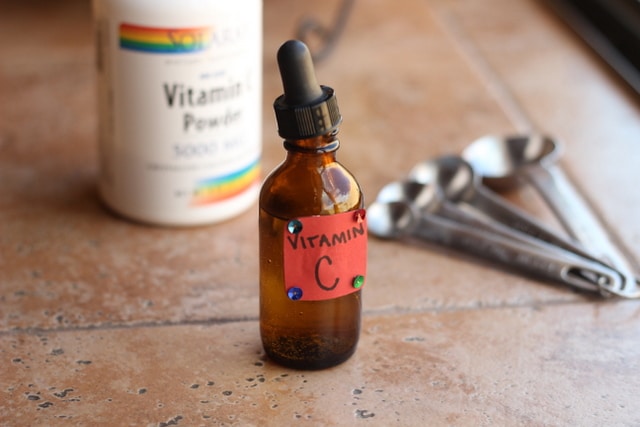
This Homemade Vitamin C Serum is by far the best skin care treatment I've ever made, both for my skin AND my wallet!

Vitamin C serums are highly coveted by people of all ages. They are known to boost collagen production in the skin, making it more plump and dewy, erase signs of premature aging, heal acne, even out skin tone, and neutralize free radicals. Some beauty brands charge anywhere from $30 to $100 for a 1-2 ounce bottle, and I'm going to show you how to make your own for pennies!
Let's begin by looking at what you need to get started:
1. L-Ascorbic Acid
Though it appears that L-ascorbic acid and ascorbic acid are chemically identical, most high-end manufacturers use the L-ascorbic acid.
After much research, I have found this brand, and it's reasonably priced!
2. Use glass or plastic utensils
I mix everything in a glass ramekin and usually use my finger or a plastic spoon to stir the mixture.
This is more of a precaution for me, as I've read that metals can destroy the effectiveness of the vitamin. It's no big deal to do it, so why not?
3. Amber Glass Dropper
Vitamin C is very sensitive to air and light, so, unless you make a fresh batch daily, you'll want to store your serum in a tinted bottle like this one:
I really like this one because both the bottle itself and the dropper are made of glass.
4. pH Strips
Though I've never tested my serum, I wanted to include this step here. In order for the serum to be 'effective', the pH of the solution (recipe below) should be between at about 3.5 on a pH strip (a bit less is okay). This is when it is able to penetrate the skin cells on your face.
If your serum pH level begins to rise or it turns yellowish, toss it out because it is oxidizing. An oxidized serum will cause free radical damage, not prevent it.
If the pH is lower than 3, it can be irritating to the skin, causing redness and dryness. I've been fine just using a little trial and error to figure this out. 🙂
5. Serum Base
Many women opt to use vegetable glycerin for this step, but I personally like using jojoba oil.
Jojoba oil is chemically comparable with the human sebum, which makes it able to mimic the mechanisms of sebum and how it helps keep the skin healthy. I use this one in my formula:
If you prefer to use vegetable glycerin, just substitute it in place of the jojoba oil in the recipes below.
6. Vitamin E Oil
Vitamin C and vitamin E work synergistically, and vitamin E is very moisturizing, so I like to add a drop or two to my serum formulation, but it is completely optional.
You can also use olive or argan oil, as they both also contain vitamin E.
How To Make It
If this is your first time using any type of acidic face treatment, you may want to start off slowly with a 5% solution. Most top vitamin C serum producers are somewhere in the 15-20% range, but you can easily work your way up using the following recipes:
1. 5% Solution
- 1/4 t. L-ascorbic acid
- 1/2 t. jojoba oil
- 4 1/4 t. distilled water (make sure it is distilled, as the naturally occurring minerals in purified water can interfere with your serum's effectiveness)
2. 10% Solution
- 1/4 t. L-ascorbic acid
- 1/2 t. jojoba oil
- 1 3/4 t. distilled water
3. 15% Solution
- 3/8 t. L-ascorbic acid
- 1/4 t. jojoba oil
- 2 1/4 t. distilled water
4. 20% Solution
- 1/4 t. L-ascorbic acid
- 1/2 t. jojoba oil
- 1/2 t. distilled water
I like to put the ingredients into a glass ramekin and use my finger to mix everything together. That way, I can feel when the crystals have dissolved. Alternatively, you can mix the serums with a plastic or glass utensil.
I like to use this at night, but feel free to use it whenever you'd like!
Options:
- Add in a drop or two of vitamin E oil to any of the above.
- Alter the oil and water amounts to your liking, but be sure to keep the total amount of liquid the same or the potency percentage will be incorrect.
- Eliminate the oil altogether and just use water and vitamin C.
Notes:
- The higher the oil to water ratio, the more 'serum-like' the formula will be. For example, the 20% solution will be more viscous than the 5% solution, which contains more water and, thus, will be more watery.
- Shake well before each use to distribute the vitamin C.
- Do NOT use with copper peptides as they cancel each other out.
- Make a new batch every 3 days for maximum freshness and bioavailability, as it degrades quickly. You can test this either with a pH strip (if your level is above 3.5, toss it) or by color (it should NOT be yellow).
The serum can be a bit irritating upon first using it, as it is acidic. Be sure to allow the serum to dry and dissolve into your skin, and then follow up with a moisturizer. This will aid in preventing dryness and, subsequently, blackheads.
Various sites purport that vitamin C stays in your skin for up to three days. That being said, it may not be necessary to use it every day, but let your own skin be your guide.
How To Store It
There are some women who keep their serum bottles in the refrigerator to preserve it longer (up to a week). If you choose to do this, take your amber bottle with the homemade serum in it, wrap it in tin foil, and place it in the fridge.
My preference is to just keep my homemade serum in the amber bottle in my bathroom cupboard.
Whatever you decide, be sure to keep the serum away from unnecessary air and light exposure.

In Closing
I know it sounds complicated, but it's pretty easy once you get the hang of it, and the reward will be a super cheap serum that will make your skin GLOW like nothing else.
I have seen a massive improvement in my skin tone. After just a few days of using my homemade version, my skin became brighter, clearer, and more even-toned. I've even noticed some old acne scars diminishing!
I highly recommend that everyone try it! Happy skin, happy wallet! 😀
*Disclosure: Some of the products linked in this post are Amazon affiliate links, meaning that I receive a small commission if you choose to purchase them through my site at NO extra cost to you.*
Source: https://www.oatmealwithafork.com/homemade-vitamin-c-serum/


Tidak ada komentar:
Posting Komentar